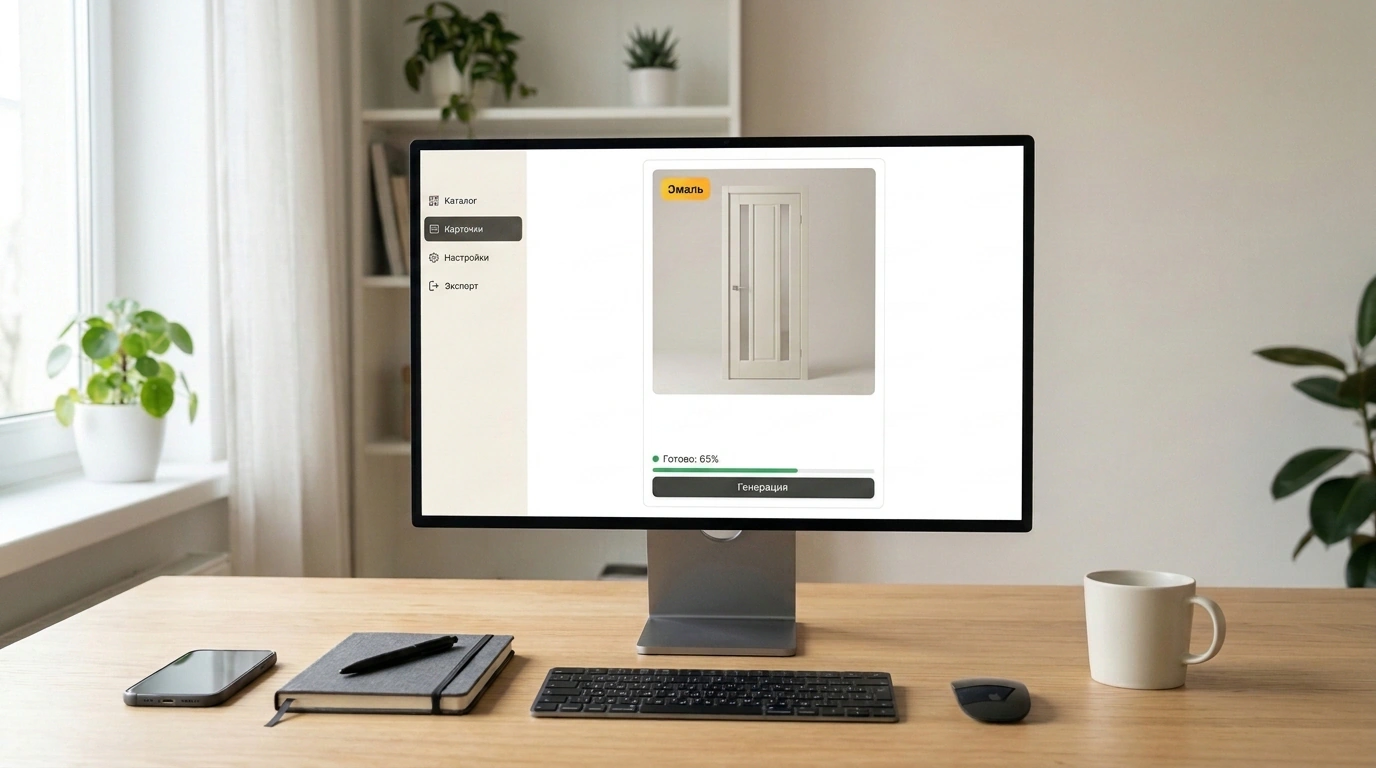
Avito sellers with 50 or more items in their catalog often run into the same problem. Clean product photos without text labels get lost in search results next to competitor listings that clearly show price, delivery times, and warranty. Paying a freelancer for every photo is costly and slow, and adding banners one by one in a graphics editor after work is a quick way to burn out by the tenth card.
That daily routine sparked an experiment by Avito specialist Alexander Ekimov, which he broke down in his Telegram channel. Instead of buying another online subscription or hiring a developer, he built his own web tool right inside a ChatGPT conversation. The whole build took 20–30 minutes without a single line of hand-written code.
People now call this approach vibe coding. In everyday terms, it's like building a simple wooden jig in your garage for one part instead of renting a massive CNC workshop. You act as the project manager: you describe what you need in plain words, and the AI writes the HTML, CSS, and JavaScript page structure and connects it to an image generator.
How a homegrown cover pipeline works
Before looking at the buttons, there's one important catch. Ekimov explained to his followers why he didn't share a public link to his working tool. A quick app built for one user can't handle a crowd: it has no request queues, load balancing, or protection against simultaneous clicks. If ten people run generation at the same time, the app crashes right away. However, setting up the same local tool on your own computer is easy, and it will run strictly for your listings.
Under the hood, the mini-service runs in four steps. First comes uploading and sorting source files: you drop in plain product photos without text and group them by type and model. If you have lots of items, you don't have to sort them by hand. You can use ChatGPT's Work mode to let the AI organize the photos into groups for you.
Next, the tool needs a style reference. In the second step, you upload a strong design example, such as an image from Pinterest with readable fonts and neat badges. This gives the model a clear visual frame instead of vague prompts like 'make it look nice.'
Step three handles batch generation through the OpenAI Images API and processes the entire set in one go. Behind the scenes, these web apps combine text prompts with HTML Canvas rendering or call API endpoints for generation, masked editing, and variations at a fixed size like 1024×1024 pixels. In the fourth step, a preview gallery opens: if nine cards look great and the headline slipped on the tenth, you regenerate only that single card without restarting the whole batch.
Specs and prompt: how to make ChatGPT build the tool step by step
Many people give up on AI coding within five minutes because the chat dumps 300 lines of code and tells them to spin up a local server in the terminal. To stop ChatGPT from throwing jargon at you, set the pace right at the start: one action at a time, in plain language.
You can use either the free version of ChatGPT or paid Plus and Pro plans. In his first message, the author attached a text file describing the features and layout of the future mini-app, then pasted a short instruction:
Build a service based on the specs in the attached file.
First, check whether you have tools available to create apps. If not, explain which environment I should use instead.
After building it, guide me step by step: from connecting the AI and uploading photos to running the first generation and downloading the finished batch.
I am not a programmer, so explain things simply, one action at a time. Wait for my reply after each step.
The file contains a detailed description of the features and design. Image generation will require an API connection. Explain how to set it up, check current pricing from official sources, and help me estimate costs before the first run.
Notice why every line here matters. The first point forces the model to check its sandbox, meaning its data analysis and code execution mode. If built-in web app previews aren't available in your account, the AI immediately offers a backup route, such as saving the code into a single index.html file and opening it in your browser or VS Code.
The second half of the prompt turns the chat into a patient partner. The tool won't jump ahead until you confirm the current step, and before you start generating, it checks current API rates and estimates the budget for your batch. If your browser throws an error or a button stops working along the way, don't dig into the code yourself. Just copy the error message or take a screenshot and send it back in the same chat.
Checking API costs and protecting your balance
Now let's look at the numbers so there are no surprises. According to official OpenAI API pricing, generating one image with DALL-E 3 at standard 1024×1024 resolution costs $0.040, and HD quality costs $0.080.
Let's calculate that for real Avito batches. A pack of 50 cards in standard quality costs about $2.00, which is around 200 rubles. A batch of 100 photos comes to $4.00–$8.00 depending on quality, or roughly 400–800 rubles. By comparison, freelance designers on classifieds boards charge 300 to 500 rubles per card, so 100 items would cost 30,000–50,000 rubles.
Before your first run, keep three practical limits in mind. First, you can build the interface itself on a free ChatGPT plan, but OpenAI Images API calls are billed from a separate developer balance. To top it up from Russia, just like paying for Plus or Pro, you'll need a foreign bank card or a payment intermediary.
Second, right after creating your API key, go to your OpenAI Platform dashboard and set a strict monthly spending limit. If the generated script accidentally gets stuck in a loop, it will hit that cap instead of draining your entire deposit in minutes. Third, AI layouts look great, but models sometimes invent facts, like adding a 100-year warranty or a fake GOST quality standard. Before uploading to Avito, scan every label with your own eyes so you don't get buyer complaints or moderation rejections.
How the tool performed for a massage studio and a door store
Calculations on paper don't mean much without testing in live search results. Alexander Ekimov's breakdown includes two clear test runs across different Avito categories: services and goods.
In the first case, they ran photos for a massage studio through the mini-service. In a single run lasting about 10 minutes, the generator produced dozens of ready-to-use images with clear client highlights, including badges for specialized training and a first-visit offer. Doing approvals and edits manually for a batch that size would have taken several days.
The second case tested an interior and entry door store whose listings previously used plain photos with no text hooks. After replacing the covers with infographic cards across the catalog, click-through rate in Avito search climbed to 10.1%, and organic traffic doubled within the first 24 hours. With that surge in leads, the store owner opened an offline showroom and moved to ongoing agency account management at their standard retainer.
Quick checklist before your first run
- Gather clean source photos without old text and sort them by product model or service.
- Pick 1–2 clear design examples with large, readable fonts as your visual reference.
- Set a strict monthly spending limit in your OpenAI Platform dashboard before entering your API key.
- Run a test batch of 5–10 images and check every number on the generated badges by eye.