On November 20, 2026, the AdonisJS team released the official @adonisjs/sesame v0.11 package, a built-in OAuth 2.1 and OpenID Connect server. As highlighted in the framework's release blog post, you can set it up with just two commands. It doesn't take over your user tables or login screens, yet it safely opens your API to third-party services, CLI tools, and AI agents via MCP.
Standard access tokens in AdonisJS work fine when only your own frontend talks to the backend. Everything changes once external integrations or AI agents knock on your API. You can't hand over a user's password, full access is too risky, and users need a clear "disconnect all" button. That's what OAuth is for. Still, as package author Julien Ripouteau put it, "OAuth itself isn't hard to understand, but it's very easy to get subtly wrong." A tiny mistake in checking redirect_uri, rotating tokens, or revoking permissions quickly turns into a security hole.
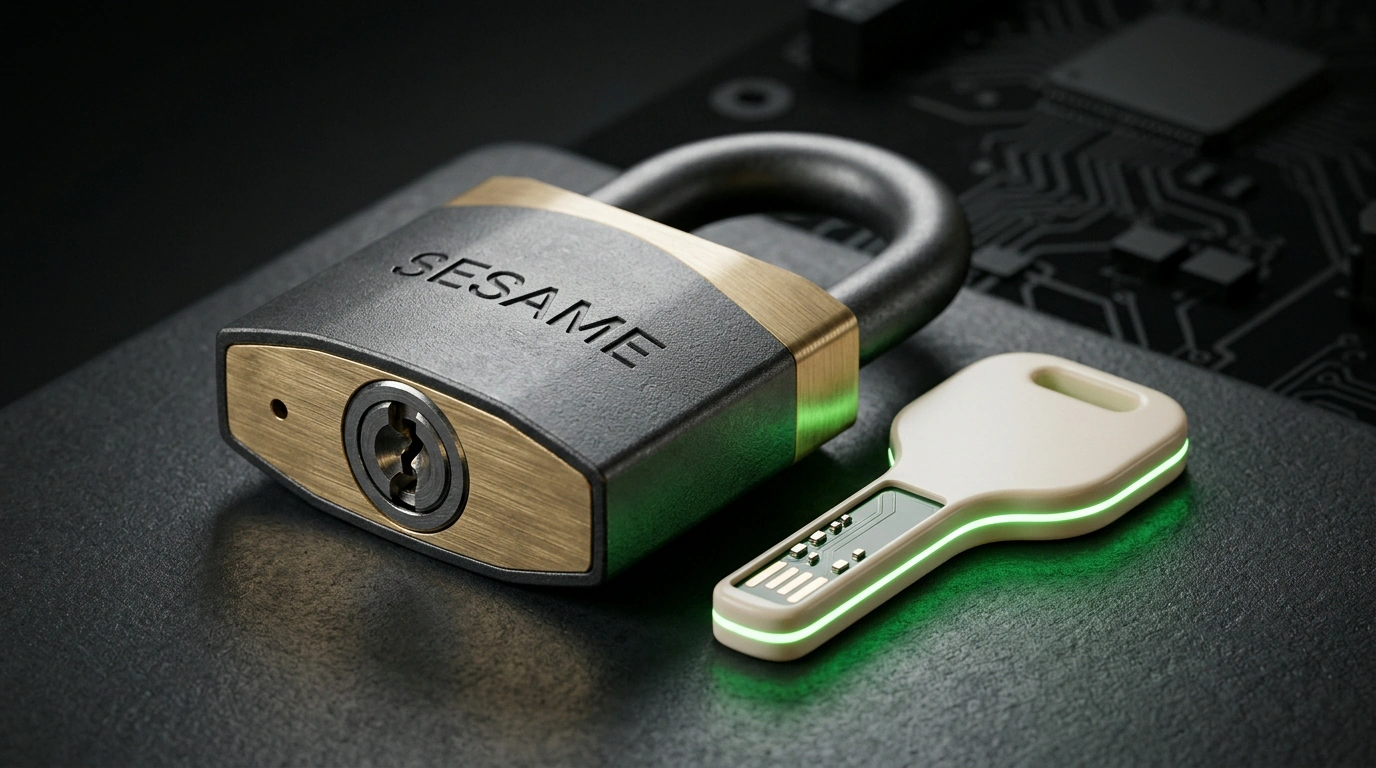
Official release banner for @adonisjs/sesame, an OAuth 2.1 and OpenID Connect server for AdonisJS (Source: AdonisJS Blog)
@adonisjs/sesame follows strict OAuth 2.1, so risky OAuth 2.0 flows are removed completely. There is no implicit grant and no password grant, and PKCE (S256) is mandatory for every client. In plain terms, PKCE uses a one-time secret and its SHA-256 hash so an intercepted authorization code cannot be exchanged for a token. Out of the box, you get OpenID Connect (ID tokens, UserInfo, discovery), client_credentials for service-to-service calls, token introspection and revocation, plus a choice between opaque tokens and JWTs with key rotation.
Installation and a Type-Safe oauth Guard
You don't need a separate microservice. Tables for clients, grants, and tokens are created right inside your existing database using Lucid or Kysely (--store=kysely).
# Install with Lucid (add --store=kysely for Kysely)
node ace add @adonisjs/sesame
node ace migration:run
An oauth guard appears right alongside your session guard. Scopes are inferred from your config via InferScopes<typeof sesameConfig> and declare module '@adonisjs/sesame/types', so TypeScript catches any typo in a scope name at compile time.
// Protecting a route with the oauth guard and scope check
router.get('/api/me', async ({ auth }) => {
  const guard = auth.use('oauth')
  const user = await guard.authenticate()

  if (!guard.hasScope('read')) {
    throw guard.insufficientScopeError(['read'])
  }

  return { id: user.id, clientId: guard.clientId }
})
Without a valid token, the API returns 401. Without the required scope, it returns 403 with a WWW-Authenticate header listing the missing permissions. You also get ready-to-use scopes and anyScope middleware in start/kernel.ts.
Protocol Separate, UI Separate
Sesame doesn't own your user database and doesn't render HTML. Accounts, login, and the consent form stay completely yours. In config/sesame.ts, you configure the issuer URL, storage, scopes, and page routes.
// Basic server config in config/sesame.ts
const sesameConfig = defineConfig({
  issuer: env.get('APP_URL'),
  store: stores.lucid(),
  scopes: { read: 'Read access', write: 'Write access' },
  defaultScopes: ['read'],
  loginPage: '/login',
  consentPage: '/oauth/consent',
})
Sesame redirects unauthenticated users to /login with an authorization_query parameter. After login, your controller simply sends them back to /oauth/authorize with those same parameters. If the user has already approved the scopes before, the consent screen is skipped. Otherwise, the browser receives an auth_token, which your controller uses to load the request from the server.
export default class OAuthConsentController {
  async show({ auth, request, response, view }: HttpContext) {
    const user = await auth.authenticate()
    const authToken = request.input('auth_token')

    // Load data from the server, never from the query string
    const pending = await sesame.findPendingAuthorizationRequest({
      token: authToken,
      userId: String(user.id),
    })
    if (!pending) return response.badRequest('Request expired.')

    const client = await sesame.findClient(pending.clientId)
    if (!client) return response.badRequest('Client not found.')

    return view.render('oauth/consent', {
      authToken,
      clientName: client.name,
      scopes: pending.scopes.map((scope) => ({
        name: scope,
        description: sesame.config.scopes[scope] ?? scope,
      })),
    })
  }
}
Reading from the server protects against URL spoofing. An attacker can't inject a fake app name or a trimmed list of permissions into the address bar. The Edge form posts to POST /oauth/consent with {{ csrfField() }} and auth_token, supports approving a subset of scopes via the scope field, and lets you attach custom context (like teamId) via sesame.approveAuthorization({ authToken, userId, context: { teamId } })—which you can later read from auth.use('oauth').context.
Grants and Protection Against Refresh Token Theft
Instead of scattering disconnected keys, each approval creates a grant—a single record of permissions issued to a client, tying together all related codes and tokens. Building a "Connected Apps" screen takes just two calls:
// List active grants and revoke all tokens for a client at once
const grants = await sesame.listGrants({ userId: String(user.id) })
await sesame.revokeGrant({ grantId, userId: String(user.id) })
Grants also power refresh token rotation with replay detection. Every time a token is refreshed, the old refresh token expires immediately. If an attacker steals it and tries to reuse it, Sesame instantly revokes the entire grant, killing every token in that chain.
Interactive Mockup: Grant Panel and Replay Detection
Click through the buttons above: rotate the token, then try replaying the burned rt_v1. The live server reacts the exact same way—one suspicious replay immediately shuts down the entire session.
Built-in MCP Support and v0.11 Status
MCP clients connect without manual registration in an admin panel. They catch a 401, discover the authorization server, introduce themselves, complete PKCE, and retry the request with a Bearer token. In Sesame, one call enables all of this:
// Register a protected MCP resource with auto-discovery
sesame.registerProtectedResource({
  resource: '/api/mcp',
  scopes: ['read', 'write'],
})
This call sets up Protected Resource Metadata (RFC 9728) for server discovery from a 401 response, Resource Indicators (RFC 8707) to bind tokens strictly to a single API (audience), scope hints in WWW-Authenticate, plus Dynamic Client Registration (DCR) and Client ID Metadata Documents so MCP clients can identify themselves via a public URL document. Full details are in the AdonisJS OAuth Server documentation.
That said, you shouldn't drop this into every project. If you only serve your own frontend or mobile app without third-party clients or MCP, standard sessions or the access_tokens guard are more than enough. Also, the package requires AdonisJS 7, Node.js 24+, and @adonisjs/auth—it won't run on AdonisJS 6 without an upgrade.
If you previously installed the package under its old name @julr/sesame, migrating is straightforward because the API, config, and database schema haven't changed. The main warning from the migration guide: do not run node ace add @adonisjs/sesame on top of an existing setup, or you'll end up with duplicate configs and migrations. Remove the old package, install the new one via your package manager, and update your imports (if you're below 0.8, upgrade to 0.8 first). Version 0.11 is currently a pre-release while the team does a final review of the public API and collects feedback on GitHub before 1.0.