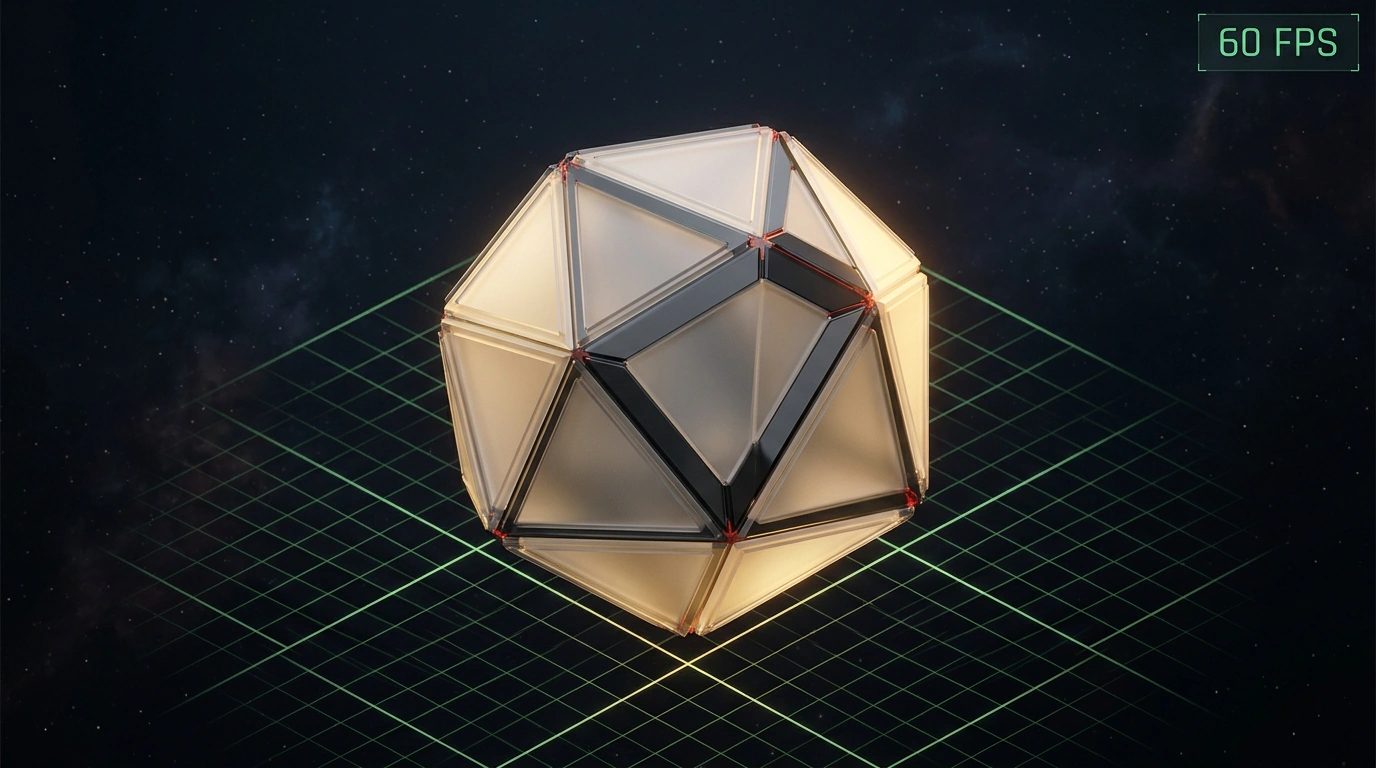
If you've ever tried dipping your toes into 3D graphics, you probably remember that brutal learning curve. You had to install a multi-gigabyte Unreal Engine or Unity distribution, wrap your head around normal maps, shadow baking, and shader graphs. For an everyday web developer, marketer, or designer, putting together an interactive scene for a landing page meant weeks of pain or hiring an expensive 3D specialist.
Now imagine describing a 3D world in plain English and having an AI package the whole thing into a single lightweight HTML file that opens instantly in any phone browser.
Pairing the updated Claude Opus 5.5 with the Three.js library has pushed this workflow to a whole new level. We looked at early 3D experiments in our article on interactive 3D worlds in Three.js, and this latest model update dramatically improves code reliability.
Why Claude Opus 5.5 Makes the Difference
Unlike older models that used to spit out broken script fragments, Opus 5.5 brings three major upgrades to the table:
- 30% faster generation: the model writes complex pages noticeably quicker than its predecessor while keeping solid spatial reasoning intact.
- Extended 5-hour limit windows: on Pro and Team plans, you can hold long iterative sessions—adding lighting, physics, and new objects step by step without slamming into a message cap.
- Autonomous testing via Computer Use: the model can open the generated canvas in a virtual browser, check the frame rate, and fix glitches before you ever lay eyes on the result.
The 4-Part Prompt Formula for Clean Scenes
To keep the model from generating an abstract soup of geometric primitives, experienced builders structure their prompt around four anchor points:
- Place: the overall environment geometry (a neon night forest, crystal cavern, or futuristic lab).
- Hero: the focal centerpiece that draws the eye (a floating glowing crystal, obelisk, or ancient tree).
- Mood: fog density (
scene.fog) and the overall color palette. - Lighting & Time: soft ambient fill, directional spotlights with shadows, or golden-hour warmth.
Scene Skeleton: Markup and Three.js Setup
Here is the baseline HTML wrapper the agent generates as a self-contained file. There are no heavy external textures—every visual is built procedurally using WebGL math and shaders:
<!DOCTYPE html>
<html lang="ru">
<head>
  <meta charset="UTF-8">
  <meta name="viewport" content="width=device-width, initial-scale=1.0">
  <title>Интерактивная 3D-сцена на Three.js</title>
  <style>
    body { margin: 0; overflow: hidden; background: #070714; }
    #canvas-container { width: 100vw; height: 100vh; }
    #fps-counter {
      position: absolute; top: 12px; left: 12px;
      color: #00ffcc; font-family: monospace; font-size: 13px;
    }
  </style>
  <!-- Load a stable Three.js build from a reliable CDN -->
  <script src="https://cdnjs.cloudflare.com/ajax/libs/three.js/r128/three.min.js"></script>
</head>
<body>
  <div id="fps-counter">FPS: 60</div>
  <div id="canvas-container"></div>
  <script src="app.js"></script>
</body>
</html>
Initializing the Renderer, Lighting, and Animation Loop
Inside app.js, the model configures a perspective camera, a shadow-enabled WebGL renderer, and a continuous frame loop:
// 1. Initialize scene and atmospheric fog
const scene = new THREE.Scene();
scene.fog = new THREE.FogExp2(0x070714, 0.03);

const camera = new THREE.PerspectiveCamera(75, window.innerWidth / window.innerHeight, 0.1, 1000);
camera.position.set(0, 4, 12);

const renderer = new THREE.WebGLRenderer({ antialias: true, powerPreference: "high-performance" });
renderer.setSize(window.innerWidth, window.innerHeight);
renderer.setPixelRatio(Math.min(window.devicePixelRatio, 2));
renderer.shadowMap.enabled = true;
document.getElementById('canvas-container').appendChild(renderer.domElement);

// 2. Ambient and directional scene lighting
const ambientLight = new THREE.AmbientLight(0x203040, 1.2);
scene.add(ambientLight);

const dirLight = new THREE.DirectionalLight(0xff9944, 2.5);
dirLight.position.set(8, 16, 8);
dirLight.castShadow = true;
scene.add(dirLight);

// 3. Centerpiece (Hero object with metallic sheen)
const geometry = new THREE.IcosahedronGeometry(2.5, 3);
const material = new THREE.MeshStandardMaterial({
  color: 0x00ffaa,
  roughness: 0.15,
  metalness: 0.85
});
const heroMesh = new THREE.Mesh(geometry, material);
heroMesh.castShadow = true;
scene.add(heroMesh);

// 4. requestAnimationFrame loop and responsive resize handling
function animate() {
  requestAnimationFrame(animate);
  heroMesh.rotation.y += 0.006;
  heroMesh.rotation.x += 0.003;
  renderer.render(scene, camera);
}
animate();

window.addEventListener('resize', () => {
  camera.aspect = window.innerWidth / window.innerHeight;
  camera.updateProjectionMatrix();
  renderer.setSize(window.innerWidth, window.innerHeight);
});
The most common snag beginners hit with Claude is a script that runs with zero console errors yet renders a solid black screen. Nine times out of ten, it's one of two things: either the camera sits at the exact same coordinates as the object (0, 0, 0), or it's pointing away from the scene. Tell the model explicitly in your prompt: 'Make sure the camera is pulled back along the Z-axis and calls lookAt(heroMesh.position).'
This workflow turns visual prototyping into an interactive back-and-forth: you describe the mood, the model writes the code, checks frame smoothness itself, and a minute later you're spinning a live 3D scene right in your browser.