You've probably written plenty of unit tests in Go: you set up a table-driven test []struct{ input, expected }, list half a dozen obvious inputs, check zero boundaries and an empty string, and call it a day. CI goes green, the reviewer approves. Then a week later in production, your network protocol parser or JSON config loader suddenly panics with panic: runtime error: index out of range on some mangled client request containing an exotic UTF-8 byte sequence.
Why does that happen? Our brains are biased: we instinctively test code with inputs we consider "reasonable." Meanwhile, the real world outside our test suite is full of noise, corrupted packets, and hostile payloads.
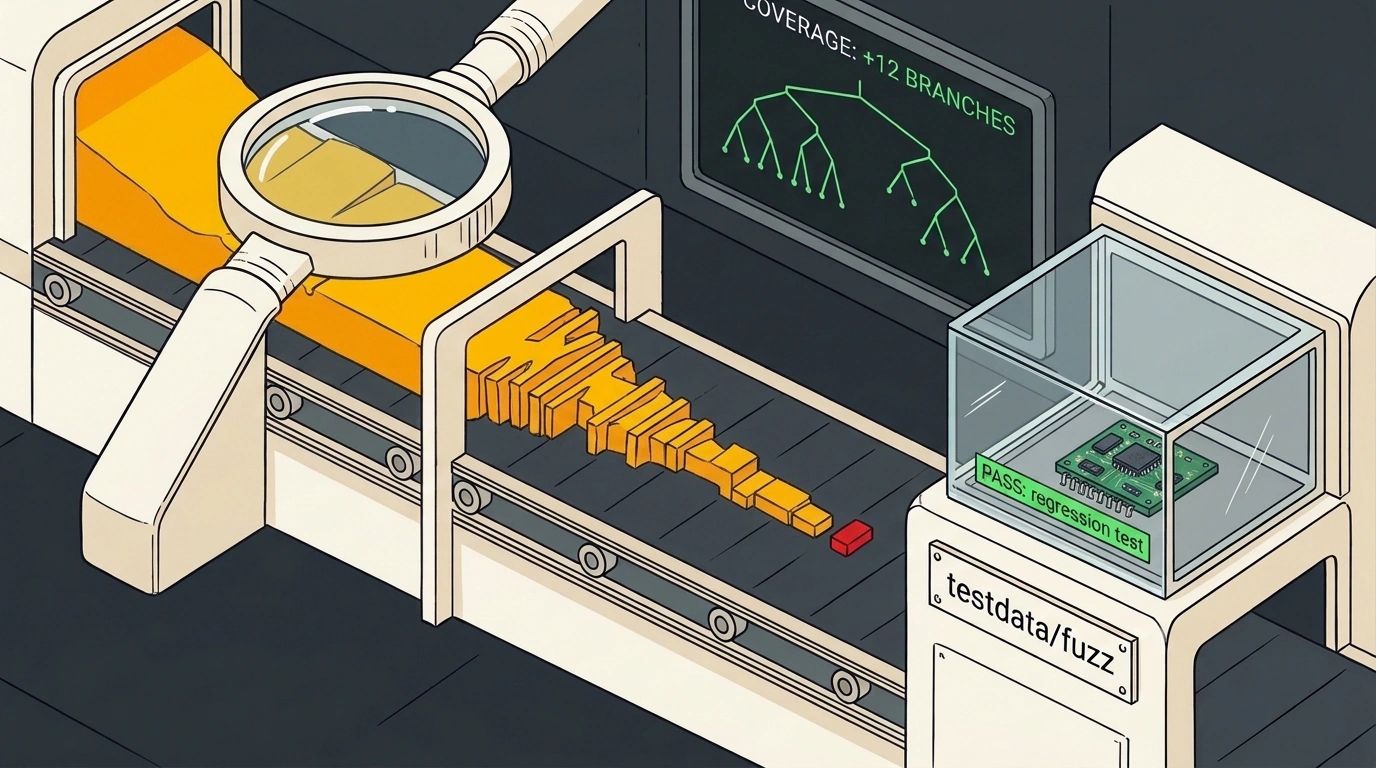
That's where Go Fuzzing steps in, built right into the standard testing package since Go 1.18. It's not just a random number generator—it's coverage-guided fuzzing. The engine inspects the control-flow graph of your compiled code and deliberately mutates bytes to reach the deepest, dustiest if, switch, and loop branches you would never think to test by hand.
Let's walk through how to write a solid fuzz test, what happens when the fuzzer triggers a panic, and how to commit the failing artifact to your repo so that bug never comes back.
Anatomy of a Fuzz Test: The f.Fuzz Signature and Seed Corpus
A Go fuzz test lives in regular *_test.go files, but instead of taking *testing.T, the function accepts *testing.F:
package parser_test

import (
    "bytes"
    "testing"
    "myproject/parser"
)

func FuzzParseMessage(f *testing.F) {
    // 1. Populate the initial seed corpus with valid examples
    f.Add([]byte("HEADER:OK\nBODY:hello\n"))
    f.Add([]byte("HEADER:PING\nBODY:\n"))

    // 2. Declare the fuzz target
    f.Fuzz(func(t *testing.T, data []byte) {
        msg, err := parser.Parse(data)
        if err != nil {
            // Validation errors are normal parser behavior!
            return
        }

        // 3. Check invariants: if parsing succeeded, the contract must hold
        if len(msg.Header) == 0 {
            t.Fatalf("successful parse returned empty header for input: %q", data)
        }

        // Round-trip invariant check
        serialized := msg.Bytes()
        if !bytes.Equal(serialized, data) {
            t.Errorf("round-trip invariant violated: %q != %q", serialized, data)
        }
    })
}
Three rules are critical here:
f.Addbuilds your seed corpus: the fuzzer doesn't start mutating blindly from scratch. It takes your known-good examples and gradually tweaks individual bytes, flips bits, deletes substrings, and injects special characters.- Validation errors are expected: if your function returns
err != nil, the test shouldn't fail! An error means your parser cleanly rejected garbage. The fuzzer is hunting for panics, infinite loops, or broken business-logic invariants—not normal error returns. - Test invariants: the best targets for fuzzing are properties that must always hold true. For example: "the decompressed buffer never exceeds the limit," "serializing and deserializing an object produces the original bytes," or "the function never panics on any byte slice." If you often compare complex structs in Go tests, check out our breakdown of go-cmp for finding exact object diffs.
Two Execution Modes: Normal Run vs. Active Mutator
Lots of developers don't realize that running:
go test ./...
doesn't launch the active mutation generator at all!
In normal mode, go test treats FuzzParseMessage like a parameterized unit test. It runs only the values you explicitly added via f.Add, plus any previously saved crash files in testdata/fuzz. That pass finishes in a fraction of a second and is completely safe for regular CI/CD pipelines.
To turn on the actual fuzzing engine, you have to pass the -fuzz flag explicitly:
# Run active fuzzing on a specific test with a 30-second time limit
go test -fuzz=FuzzParseMessage -fuzztime=30s -v
When you run that command, the Go runtime does the following:
- Collects a baseline code coverage profile from your seed corpus examples.
- Spawns parallel workers across all available CPU cores.
- Starts generating millions of mutations per second. Whenever a mutation discovers a new path in the compiled code (a previously unhit
ifbranch), that input vector is added to a temporary coverage cache for further splitting and mutation.
Anatomy of a Crash: The Magic of Input Minimization
Suppose the fuzzer ran for 15 minutes, generated an 8,192-byte random array, and your parser suddenly crashed with a panic:
--- FAIL: FuzzParseMessage (12.45s)
    --- FAIL: FuzzParseMessage (0.00s)
        panic: runtime error: slice bounds out of range [:12] with capacity 8
If the tool just dumped an 8-kilobyte blob of junk on your lap, you'd be staring at hex dumps until morning. Instead, the Go Fuzzing engine does something brilliant: it immediately kicks off input minimization.
The fuzzer starts chopping off chunks of bytes, bit by bit, and re-running the code to see if the exact same panic still reproduces. If deleting the first 4,000 bytes still triggers the crash, those bytes are gone for good. It keeps shrinking until it finds the smallest possible byte sequence that breaks your code. An 8 KB array gets whittled down to just three bytes: ÿ\n!
Once minimized, Go:
- Exits with status code
1. - Prints the exact stack trace and the failing input arguments to the console.
- Automatically writes that minimal failing case to disk at:
testdata/fuzz/FuzzParseMessage/c7a8b9f123...
Turning the Crash into a Regression Test: Committing testdata/fuzz
Let's peek inside the generated file under testdata/fuzz/FuzzParseMessage/:
go test fuzz v1
[]byte("\x01ÿ\n")
The file format is dead simple: the first line declares the schema version (go test fuzz v1), followed by the typed arguments that triggered the crash.
Here lies the real architectural elegance of Go's approach: this file is meant to be committed straight into git!
# Stage and commit the discovered edge case to git
git add testdata/fuzz/FuzzParseMessage/
git commit -m "test: reproduce boundary panic in message parser via fuzz corpus"
Now that file is a permanent part of your regression test suite. Whenever any teammate or GitHub Actions runner executes a fast go test ./..., the fuzz test automatically picks up this file from testdata, feeds it to your target function, and guarantees that the fixed bug can never sneak back in!
Fix the bug in the parser (add a slice length check before slicing) and verify the fix:
# Verify the test now passes on the saved failing input
go test -run=FuzzParseMessage -v
Don't run unbounded fuzzing inside your blocking pull-request pipeline. Run the fast regression pass go test ./... on every commit (it checks your saved testdata corpus instantaneously), and offload deep fuzzing go test -fuzz=. -fuzztime=10m to a nightly cron job.